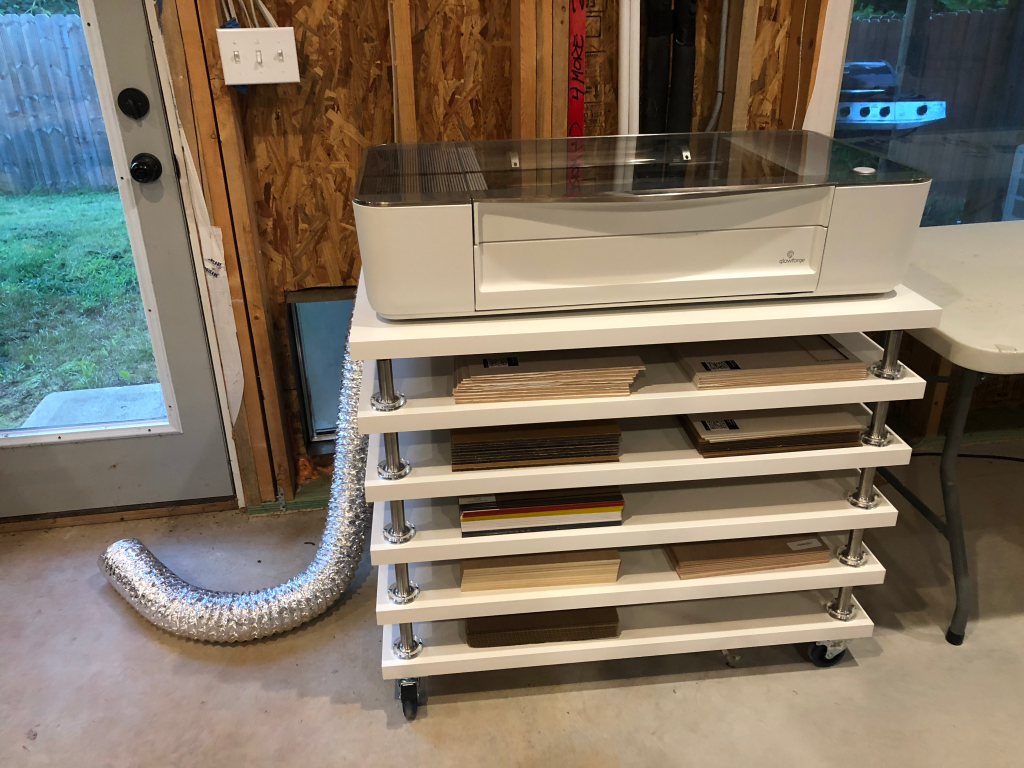
On this episode of The Atlanta Maker we hack a few IKEA items and build a new table and material storage system for around $150!
The table we are going to build could be used for many crafting or prototyping tools such as Silhouette Cameos and 3D Printers, but we will mainly be using this for the Glowforge and storing many of its materials underneath.
Free Lasercut Files for this project: http://theatlantamaker.com/wp-content/uploads/2020/07/IKEA-Hack_Glowforge_Table_v2.zip
Right Angle Screwdriver can be found here: https://amzn.to/2ODNohX
If you’d like to build your table before your Glowforge arrives, we can cut you a set of the acrylic parts and send them to you. Check out our For Sale page for more information.
If you are not familiar with the term IKEA Hack, it’s when you use IKEA items for a purpose other than what they were intended. In this case we will be building a shelving unit on wheels using some cheap desk tops and some cabinet legs.

Right now the LINNMON desk tops that are about the same size as a Glowforge are on sale for $8.99 so we will pick up 6 of them along with 5 sets of the CAPITA legs. The total for these items should be around $120 before taxes or delivery.
I also picked up some 3” locking casters from Harbor Freight for about $4 each, but if you don’t see the need to move your table, then buy an additional set of CAPITA legs instead.
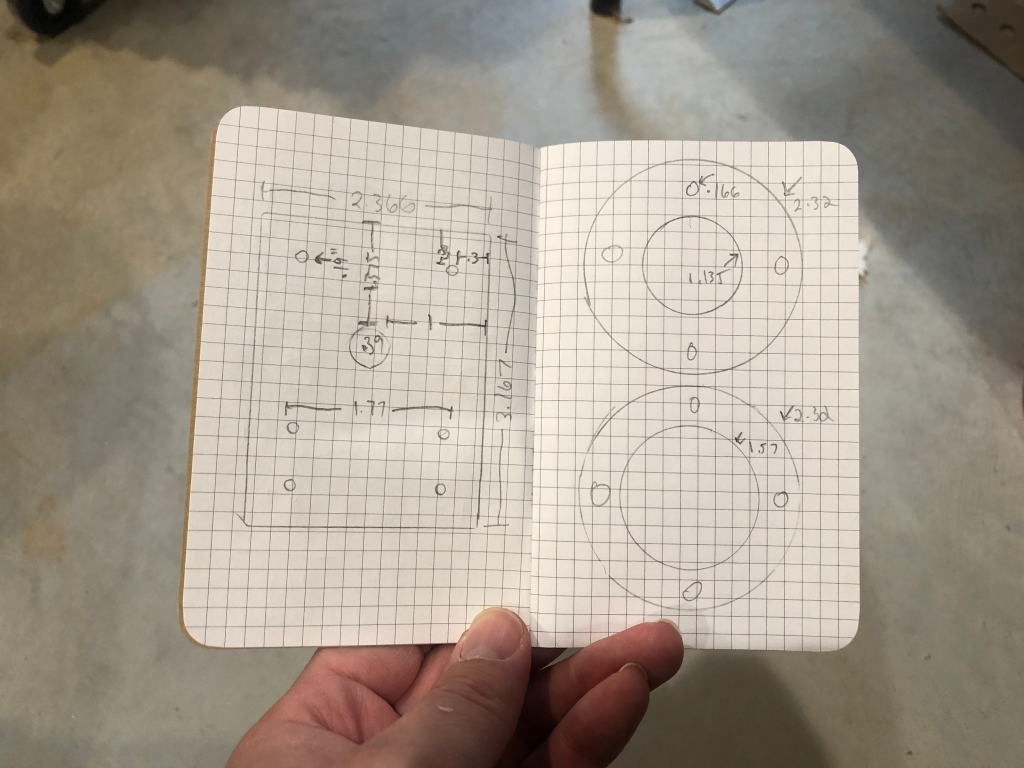
I always start a project like this with a few sketches to help me think through the steps a bit before I start. A little planning at the beginning can save a lot of time during the project.

I’ve seen others make a similar table but use glue to adhere the layers to each other, but I wanted to try and use the laser to make some parts that would hold the layers together and look cool while doing it.
I decided to make a template to help me get all of the holes in the correct places for both the leg brackets and the parts that hold them to the table top.
You can download the files for both the template and the parts to hold the legs to the table tops from the link in the video description.
I started to create these files using Adobe Illustrator, but I’m a bit more familiar with Fusion 360 so I finished them using that. If you’d like to see how I create files like these in more detail, please let me know in the comments.
I cut the both the templates and the leg clamps out of ¼” acrylic. Color doesn’t really matter, but I like how the clear acrylic turned out.
Alright, let’s get this thing built.
First, I marked and drilled pilot holes for the 3” casters for the bottom shelf. I then used some 1” #10 wood screws along with some ¼” washers to secure them to the shelf.
Next we need to mark and drill pilot holes for all of the leg brackets and leg clamps. I highly suggest doing this to all of the shelves first before starting to assemble the rest of the table but make sure you leave one of the desktops undrilled to become the top of your table.
The template has two sets of holes: one for the leg brackets and one for round leg clamps. Make sure you use the correct hole for the correct side of the shelves.
The template also has engravings for Front/Back and Side of the shelves. Make sure you put the engravings along the designated sides while marking and keep in mind that you may have to turn over the template to get the markings in the right spot.
Let’s get the leg plates ready to attach to the shelfs by getting the leveling disc snug to the base of the plate and setting them all in place.
I used the screws that came with the legs and please note that the two extra unused holes in the plates go towards the middle of the shelf.
Before we screw the legs into the plate, make sure you attach the acrylic disc with the smaller center hole over the leg as it will not fit once the leg is attached.
You’ll screw these until they are snug to the leveling disc.
With all of the legs attached to each shelf, it’s time to start assembling the layers.
First we need to put the other acrylic disc onto each leg before lowering the shelf on top of our caster layer.
You’ll then need to adjust the position of the new layer until all of the holes in the acrylic disc line up with the holes drilled in the table top. I found it easiest to get it all lined up while looking through just the first acrylic disc.
Once they appear to be lined up, get the four screws started by hand and then use a screw driver to drive them about ½ way in before moving to the next leg.
Once you have all of the legs partially screwed down, go ahead and screw them all the way down until the acrylic discs sit flush with the table top and the legs are secure.
I used #8 1” sheet metal screws for all of the legs.
Now we just repeat that for each of the layers until the entire table is assembled.
Now it’s time to put the Glowforge on top and load the shelves up with some materials!
I thought this turned out pretty nice and now I have most of my materials inches away from the laser.
You can download the laser files for the template and leg clamps for free from the link in the video description.
See you next time!
Love this idea. I have a glow forge pro so I have been thinking about how to add table supports on the sides for larger prints. I was thinking about adding in some bracers to the sides and making the footprint larger when I need it bigger.
Thanks again for this. Ill build off it.
Eric